Understanding Exposure: The Photographer's Guide to Aperture, Shutter Speed, and ISO
A clear, practical explanation of the exposure triangle and how aperture, shutter speed, and ISO work together to control your photos.
Every photograph is, at its core, a measurement of light. Open the shutter for too long and the image washes out into pale, featureless white. Open it for too short and the picture sinks into murky shadow. Getting it right — capturing exactly the right amount of light for the scene in front of you — is the single most important technical skill in photography. The good news is that it comes down to just three controls working together. Photographers call this relationship the exposure triangle, and once it clicks, you stop fighting your camera and start directing it.
The three controls are aperture, shutter speed, and ISO. Each one changes how bright your image is. But each one also has a side effect — a creative consequence that goes far beyond brightness. Learning what those side effects are is what separates a snapshot from a deliberate photograph.
What a “stop” actually means
Before we touch the three controls, you need one piece of shared vocabulary: the stop. A stop is simply a doubling or halving of light. Open up one stop and you let in twice as much light. Close down one stop and you let in half.
This matters because all three controls are measured in stops, even though their numbers look completely different. That shared scale is what lets them trade off against each other. If you brighten the image by one stop with shutter speed, you can darken it by one stop with aperture, and the overall exposure stays exactly the same. The brightness is identical — but the look of the photo changes. That trade is the entire game.
Master the stop and the rest of the triangle stops feeling like math. It becomes a set of fair, predictable trades.
Aperture: the control for depth of field
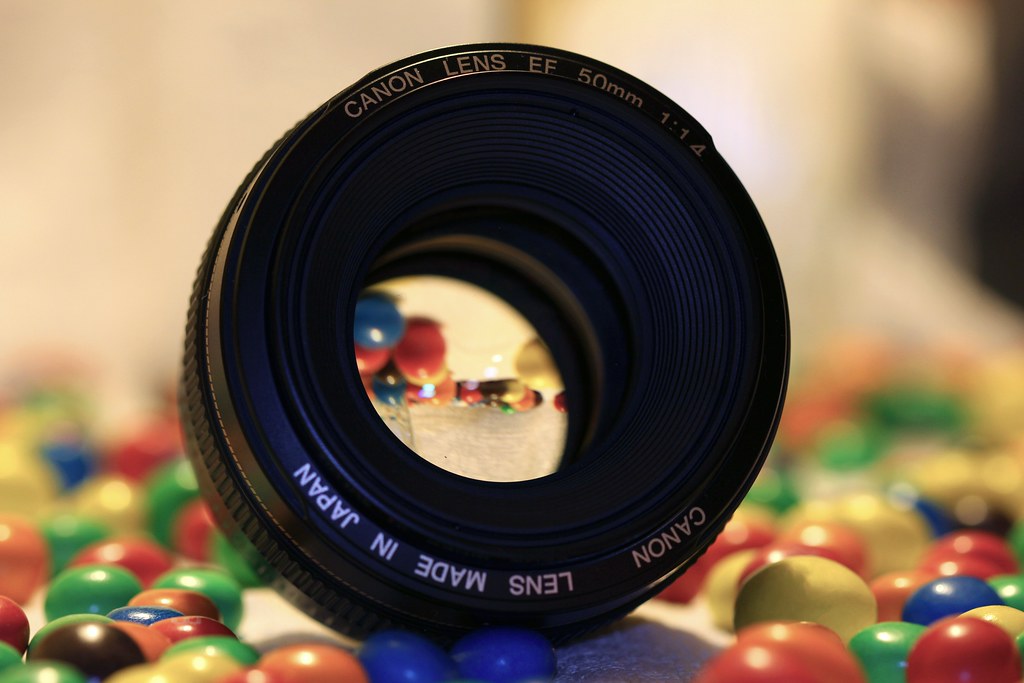
Aperture is the size of the opening inside your lens that light passes through. It’s measured in f-numbers — f/1.8, f/4, f/8, f/16 and so on. The counterintuitive part: smaller numbers mean a larger opening. So f/1.8 lets in a lot of light, while f/16 lets in very little.
Aperture’s brightness job is straightforward — wider opening, brighter image. Its creative job is depth of field, which is how much of the scene appears sharp from front to back.
- Wide aperture (small number, e.g. f/1.8 or f/2.8): shallow depth of field. Your subject is crisp while the background melts into soft blur. This is the look you want for portraits and isolating a subject.
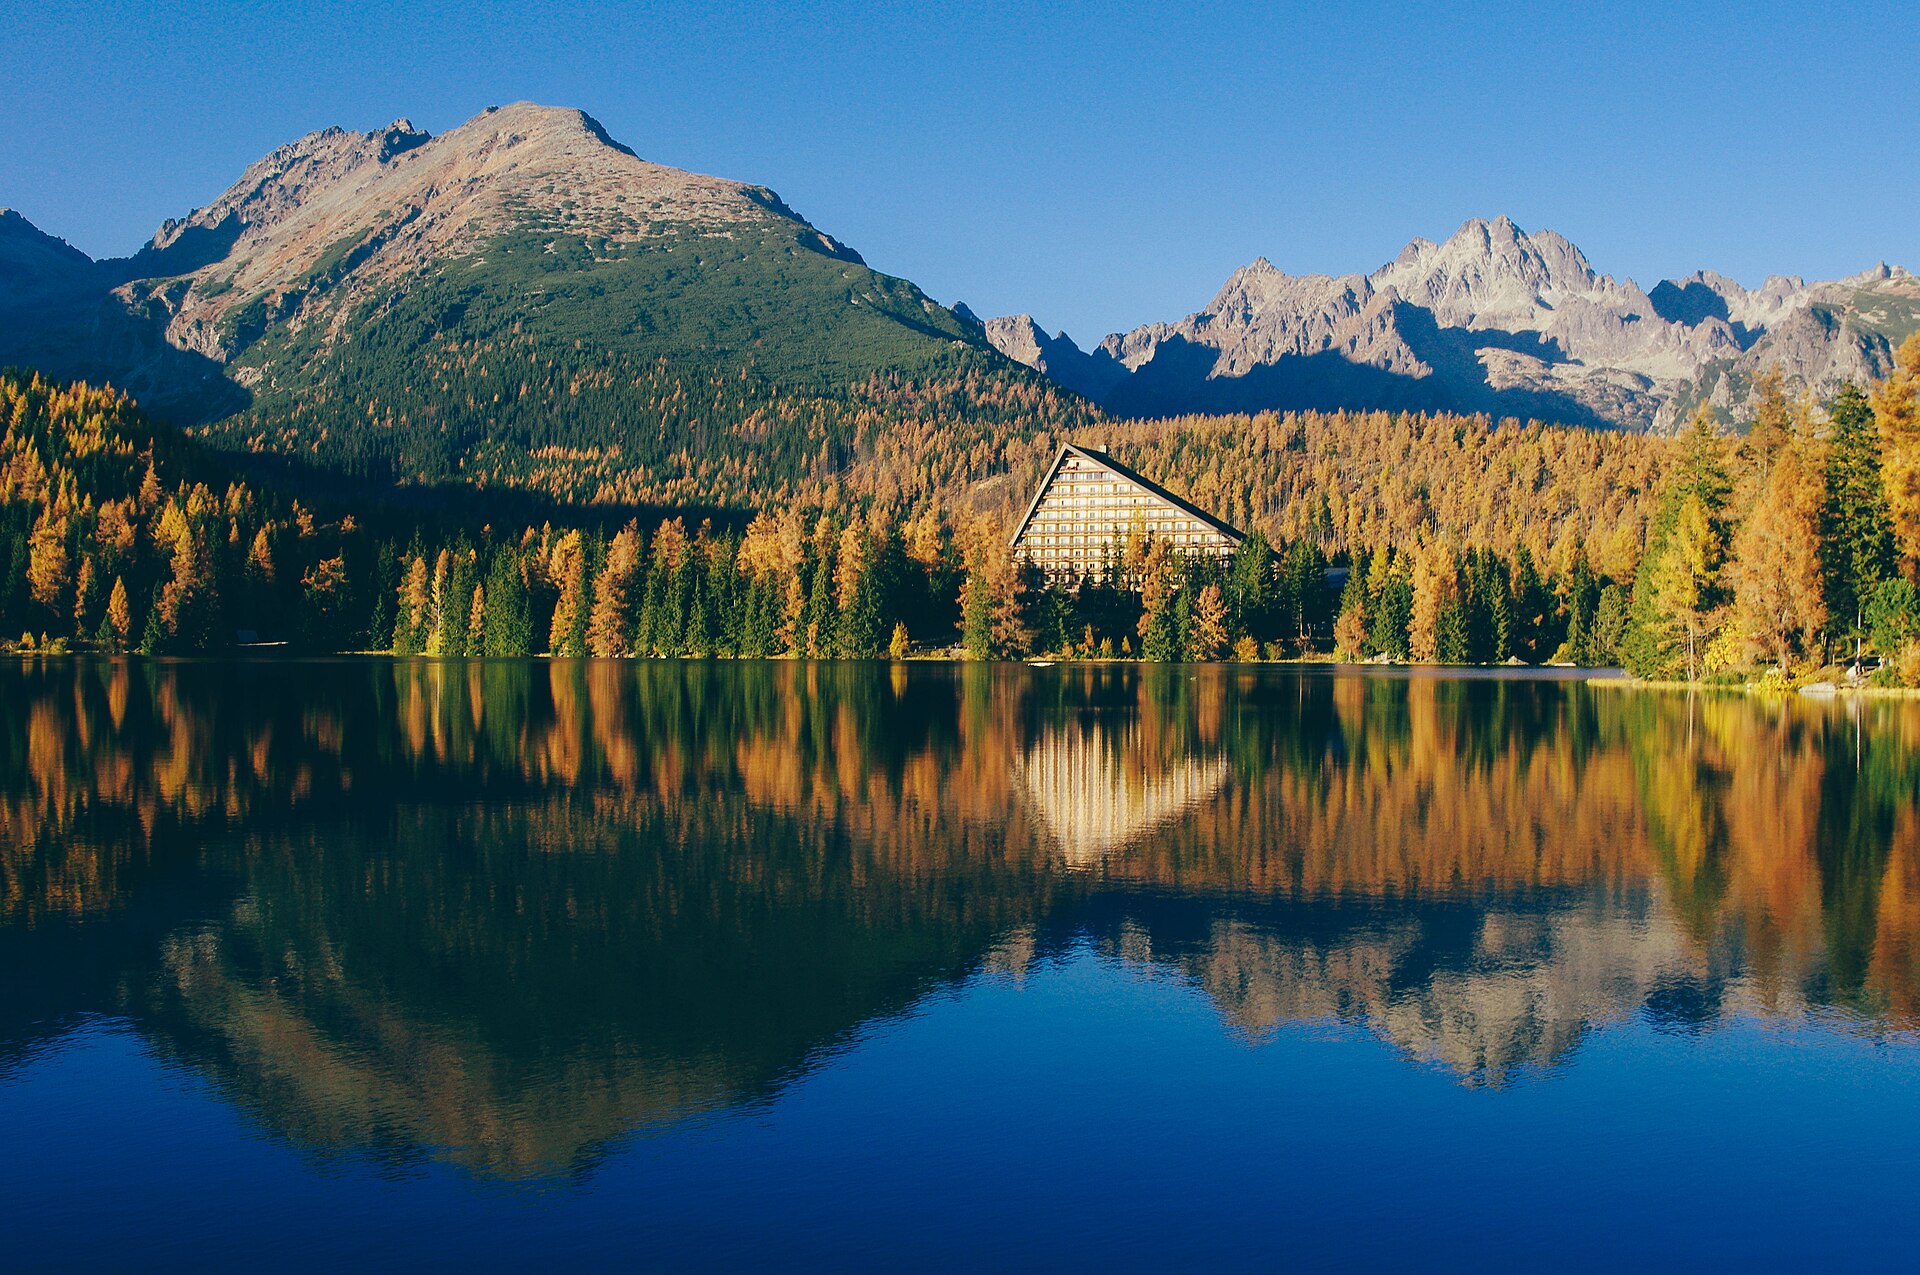
- Narrow aperture (large number, e.g. f/11 or f/16): deep depth of field. Everything from the foreground to the horizon stays in focus. This is the look you want for landscapes and architecture.
A practical example: photographing a friend in a busy park, you might choose f/2.8 to throw the distracting background out of focus and keep all attention on their face. Photographing a mountain range at sunrise, you’d switch to f/11 so the wildflowers in front and the peaks behind are both sharp.
Shutter speed: the control for motion
Shutter speed is how long the camera’s sensor is exposed to light, measured in fractions of a second — 1/1000, 1/250, 1/30, and so on, down to full seconds for long exposures. A faster shutter (1/1000) lets in less light; a slower shutter (1/30) lets in more.
Its creative job is how motion is rendered.
- Fast shutter speed (e.g. 1/1000s): freezes action. A bird mid-flight, a splash of water, a running child — all locked sharp.
- Slow shutter speed (e.g. 1/15s or slower): introduces motion blur. A waterfall turns to silk; car headlights become streaks of light.
Here’s the catch with slow speeds: any movement of the camera itself also blurs the image. As a rough rule, handholding gets risky below about 1/60s for a standard lens. Below that, use a tripod or a stable surface, or your sharp subject will smear simply because your hands aren’t perfectly still.
A practical example: at a youth soccer game in good daylight, you’d dial in 1/1000s to freeze the players crisply. At a river in the evening, you’d mount the camera on a tripod and choose two full seconds to render the flowing water as a smooth, dreamy blur.
ISO: the control for sensitivity and noise
ISO controls how sensitive your camera’s sensor is to light. Low ISO numbers (100, 200) are less sensitive; high ISO numbers (3200, 6400) are more sensitive. Raising ISO brightens the image without changing aperture or shutter speed — which sounds like a free lunch, but it isn’t.
The side effect of ISO is noise: a grainy, speckled texture that grows as ISO climbs. At ISO 100 your images are clean and detailed. Push to ISO 6400 in a dim room and you’ll see grain creep in, especially in shadows, along with a slight loss of fine detail and color richness.
The working principle is simple: keep ISO as low as the situation allows. Use low ISO in bright light for the cleanest possible files. Raise it only when aperture and shutter speed can’t gather enough light on their own — for example, shooting indoors at night where you still need a shutter fast enough to avoid blur. Modern cameras handle high ISO far better than they used to, so don’t be afraid to raise it when the alternative is a blurry or black photo. A sharp, slightly grainy shot beats a clean, blurry one every time.
How the three balance each other
This is where the triangle comes alive. Because all three controls are measured in stops, you can shift the workload between them while keeping the same overall exposure.
Say your camera tells you a correctly exposed shot is f/8, 1/250s, ISO 200. You decide you want a blurrier background, so you open the aperture two stops to f/4 — that’s now four times more light. To keep the exposure the same, you balance it elsewhere: speed the shutter up two stops to 1/1000s. Same brightness, but now with a soft background and frozen motion. That’s the kind of deliberate trade experienced photographers make in seconds.
A reliable way to think about it:
- Decide what matters most for this shot — background blur, frozen motion, or maximum image quality.
- Set that control first. Want shallow depth of field? Lock your aperture. Freezing a sprinter? Lock your shutter speed.
- Balance with the other two, raising ISO only as a last resort.
How this applies to phone cameras
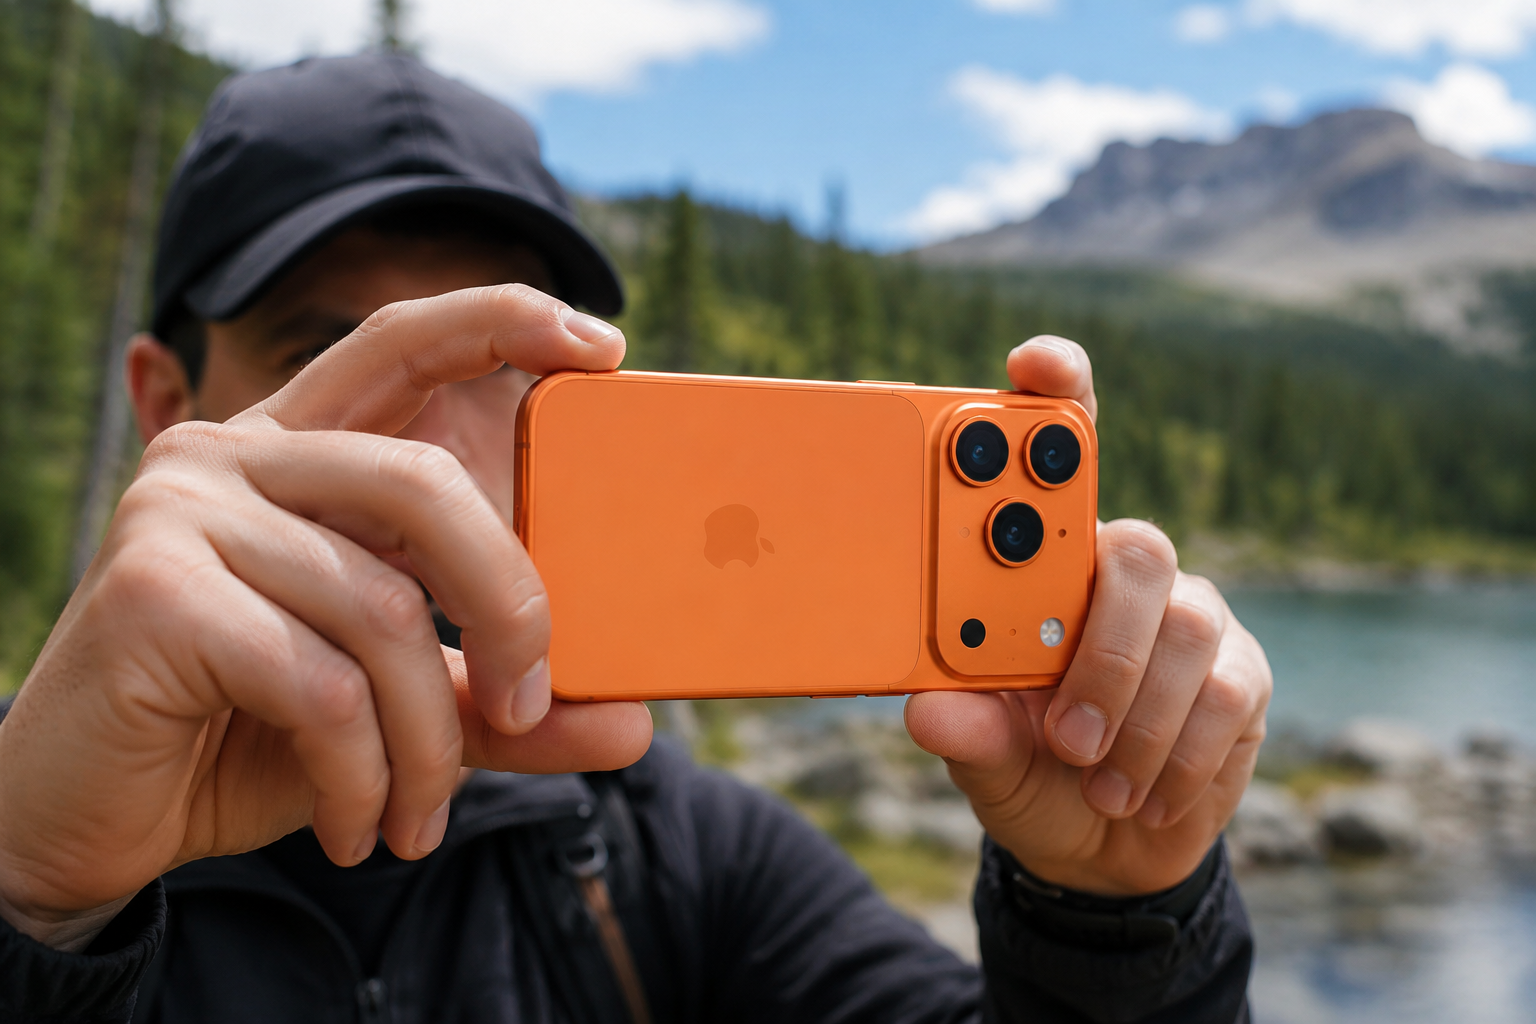
If you shoot on a smartphone, the triangle still governs every photo — your phone is just making these decisions automatically. The difference is that phone lenses have a fixed aperture, so the camera can only adjust shutter speed and ISO. That blurred-background “portrait mode” look is created with software rather than a true wide aperture, which is why it sometimes fumbles around tricky edges like hair or glasses.
Most phone camera apps include a Pro or Manual mode that hands you direct control over shutter speed and ISO. It’s the best place to practice the triangle: drag the shutter slider slow to blur a moving subject, then watch how the app raises or lowers ISO to compensate. The principles you learn there transfer directly to any camera you ever pick up.
Understanding exposure isn’t about memorizing numbers — it’s about knowing what you’re trading and why. Once you can look at a scene and decide which control matters most, the camera finally starts doing what you tell it to.