How to Master Composition: 9 Rules That Instantly Improve Your Photos
Nine practical composition techniques — from the rule of thirds to leading lines and negative space — that make any photo stronger.

Two photographers can stand in the same spot, point at the same subject, and come away with wildly different images. The difference usually isn’t the camera or the light — it’s composition, the art of deciding what goes where inside the frame. Composition is what turns a record of a thing into a photograph of it. The encouraging part is that the underlying tools are learnable, repeatable, and work on any camera, from a full-frame body to the phone in your pocket.
These nine techniques aren’t rigid laws. Think of them as a vocabulary. The more fluent you become, the more naturally your eye reaches for the right one — and the more confidently you can ignore them when the shot calls for it.
1. The rule of thirds
Imagine your frame divided into nine equal rectangles by two horizontal and two vertical lines, like a tic-tac-toe grid. The rule of thirds says to place your key elements along those lines or, better still, where they intersect. Most cameras and phones can display this grid as an overlay — turn it on.
Why it works: dead-center placement tends to feel static and flat. Offsetting your subject creates a sense of movement and gives the eye somewhere to travel. For landscapes, put the horizon on the upper or lower third rather than slicing the frame in half. For a portrait, place the eyes near the top intersection points.
2. Leading lines
Our eyes instinctively follow lines. Roads, fences, rivers, railings, shadows, and rows of trees all act as visual paths that pull the viewer into the scene and toward your subject.
Look for lines that start near the edge of the frame and lead inward to your point of interest. A path winding from the bottom corner up to a distant figure does enormous work — it tells the eye exactly where to go. Converging lines, like the two rails of a train track meeting in the distance, add a powerful sense of depth.
3. Framing
Use elements in the scene to build a frame around your subject — an archway, a window, overhanging branches, a doorway. This natural frame focuses attention inward and adds layers, creating a sense of depth and context.
A practical example: shooting a building through the arch of a neighboring structure instantly tells the viewer where they’re standing and draws their eye to the main subject. Foreground frames also hide distracting edges and make a flat scene feel three-dimensional.
4. Symmetry and patterns
Repetition is satisfying to look at. Rows of windows, tiled floors, reflections in still water, and architectural detail all create rhythm that holds attention.
- Symmetry works beautifully with reflections and formal architecture — and this is the one case where centering your subject is exactly right.
- Patterns grab the eye, and breaking a pattern grabs it even harder. One red umbrella in a sea of black ones becomes the entire photo.
5. Negative space
Negative space is the empty area around your subject — open sky, a blank wall, calm water. Giving your subject room to breathe makes it feel more prominent, not less, and lends the image a calm, deliberate, often elegant feel.
Resist the urge to fill every corner. A small subject against a large expanse of emptiness can carry far more impact than a tightly packed frame. Negative space is also where text and graphics live comfortably, which is why it’s a favorite of editorial and advertising photographers.
The empty parts of a photo are not wasted space. They are how the eye finds the subject.
6. Fill the frame
The opposite instinct — and equally valid. Move in close, or zoom, until your subject dominates the frame edge to edge. This eliminates distractions and forces intimacy, revealing texture and detail the eye would otherwise skip.
Portraits often gain power when you crop in tight on the face. Filling the frame is especially useful when the surroundings add nothing; if the background isn’t helping the story, remove it by getting closer.
7. Point of view
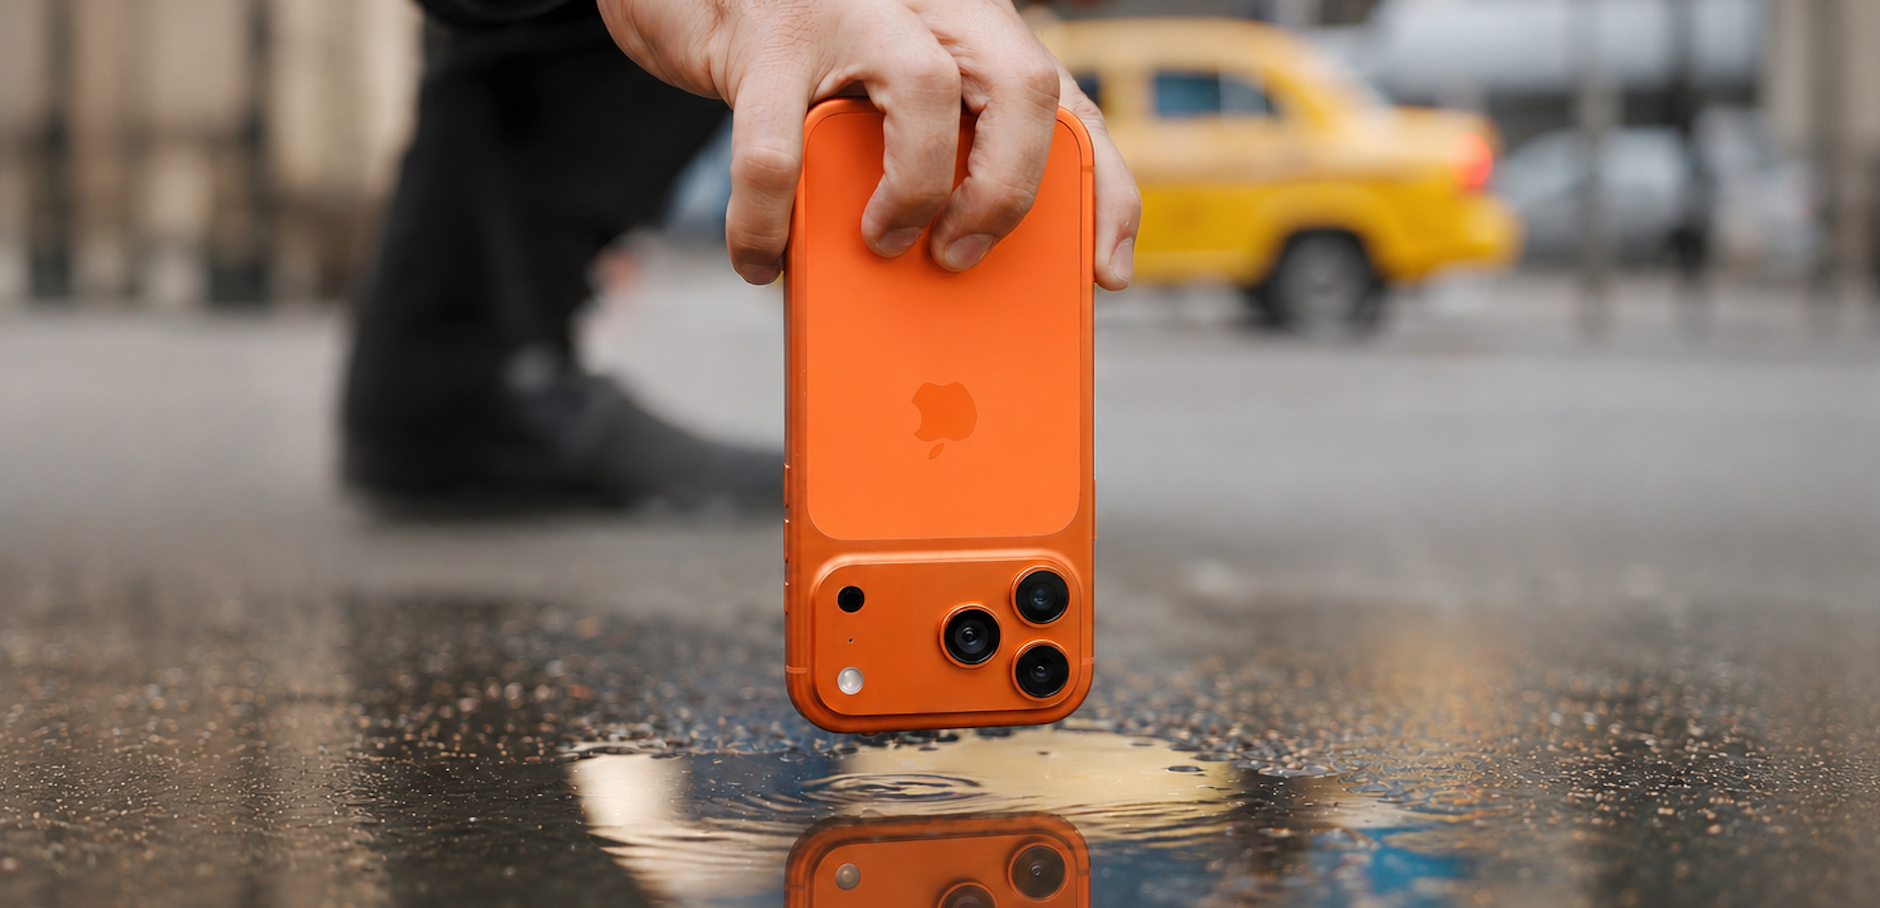
Most people photograph everything from standing eye level, which is exactly why those photos look ordinary. Changing your point of view is one of the fastest ways to make an image feel fresh.
- Get low — crouch or put the camera near the ground — to make a subject feel grand and imposing, or to capture a child or pet at their level.
- Get high — shoot down from a balcony or hold the camera overhead — to flatten a scene into a graphic, map-like pattern.
Smartphones have a real advantage here: they’re small and light enough to slip into low or awkward angles a bulky camera never could. Use that freedom.
8. Balance
Every element in a frame carries visual weight — a bright object, a face, a strong color, a dark shape. Balance is about distributing that weight so the image doesn’t feel lopsided.
If you place a subject far to one side using the rule of thirds, the opposite side can feel empty. A smaller secondary element there — a distant tree, a cloud, a person — counterweights the composition and makes it feel settled. Balance doesn’t mean symmetry; it means the frame feels resolved rather than tilting toward one edge.
9. Know when to break the rules
Here’s the most important rule of all: every guideline above can be broken to great effect, once you understand why it exists. Dead-center symmetry, a horizon split exactly in half, a subject crowded against the edge — these can all be deliberate, powerful choices.
The distinction is intention. Breaking a rule on purpose, because you’ve seen what it does, reads as confidence. Breaking it by accident reads as a mistake. Learn the rules thoroughly so that when you abandon one, the viewer feels the decision behind it.
Putting it together
You’ll rarely use only one of these in a single photo. A strong image often combines several — leading lines guiding the eye to a subject placed on a rule-of-thirds intersection, framed by an archway, with negative space giving it room to breathe.
A simple way to build the habit: before you press the shutter, pause for one extra second and ask two questions. Where do I want the viewer’s eye to go first? What in this frame is distracting them from it? Then move your feet, change your angle, or shift the camera until the answer is clean. That one-second pause, repeated over hundreds of frames, is what turns these nine rules from a checklist into instinct.