5 Biggest iPhone Photo Mistakes (And How To Avoid Them)
You're probably making at least one of these without realizing it.
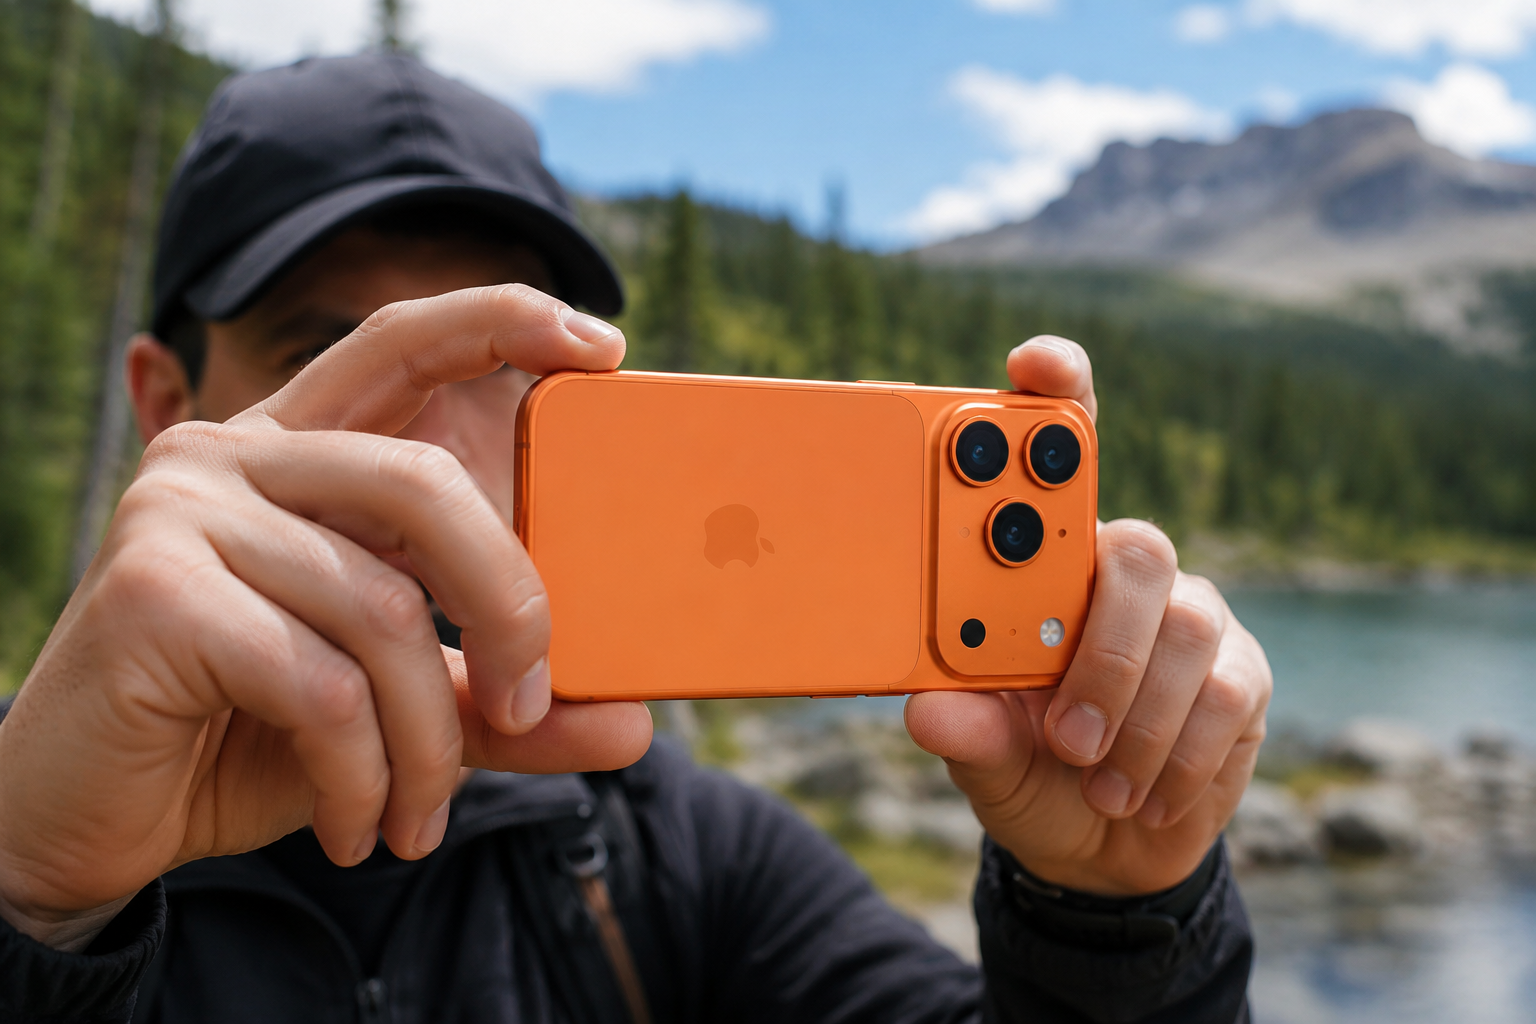
Your iPhone can take incredible photos. So when a shot comes out flat or messy, it usually isn’t the camera’s fault. It’s a small, fixable mistake.
The good news? Once you know what to look for, these mistakes are easy to avoid.
Here are the five we see most often. Fix these and your photos will improve right away.
1. No clear focal point
Every great photo has one main subject. Something for the eye to land on.
Without it, people don’t know where to look. The photo feels busy and unfinished.
So before you shoot, ask yourself one question: what is this photo about?
Then build the shot around that subject. If there isn’t one, wait for one. A person, a tree, a boat. Anything that anchors the scene.


2. A cluttered background
Your subject might be perfect. But a messy background pulls all the attention away.
Look behind your subject before you press the shutter. Watch for bins, signs, poles, and busy patterns.
Then fix it. Move a little. Change your angle. Or get in close so one clean detail fills the frame.
A simple background makes your subject pop. It’s one of the fastest ways to level up your photos.


3. Using the wrong lens for portraits
Here’s one almost everyone gets wrong. They shoot portraits on the regular wide lens, up close.
The problem? That lens stretches faces. Noses look bigger and features look off.
The fix is simple. Step back, then tap 2x or 3x to switch to your iPhone’s longer lens.
That longer lens is far kinder to faces. It keeps features natural and softly blurs the background. Your subject just looks even better.

4. Shooting in harsh midday sun
The midday sun feels bright and easy to shoot in. But directly overhead, it’s the harshest light of the day. It casts hard shadows under eyes and noses, blows out bright skies, and makes people squint.
The fix? Shoot when the light is soft. Early morning and late afternoon are gentle and flattering. On a bright day, just move your subject into open shade.
Soft light is kinder to faces and brings out richer color. It’s the kind of light the pros plan around.


5. Moving during Night mode
Night mode is brilliant in low light. But it has one catch.
To soak up all that light, your iPhone holds the shutter open for a few seconds. Move even a little, and the shot comes out blurry.
So when Night mode kicks in, hold as still as you can until it finishes. Better yet, brace your iPhone against a wall or railing, or rest it on something solid.
Stay steady, and your night photos come out sharp and full of light.

The secret to stunning photos
The secret to stunning photos isn’t getting the newest iPhone. The only thing standing between your photos and the ones you stop to admire is knowing a few simple tricks.
Fix these five and you’ll see a jump right away. But they’re just the start. There’s a simple fix for almost every photo problem, once someone shows you where to look.
That’s what iPhone Photo Academy does. It’s already helped more than 648,000 people take photos they’re proud of. And it’s all short, beginner-friendly video lessons you can follow at your own pace.
So why wait? Sign up today and get 80% off.