The Complete Guide to Portrait Lighting Setups
From key, fill, and rim lights to classic patterns like Rembrandt and butterfly, here's how to light flattering portraits on any budget.
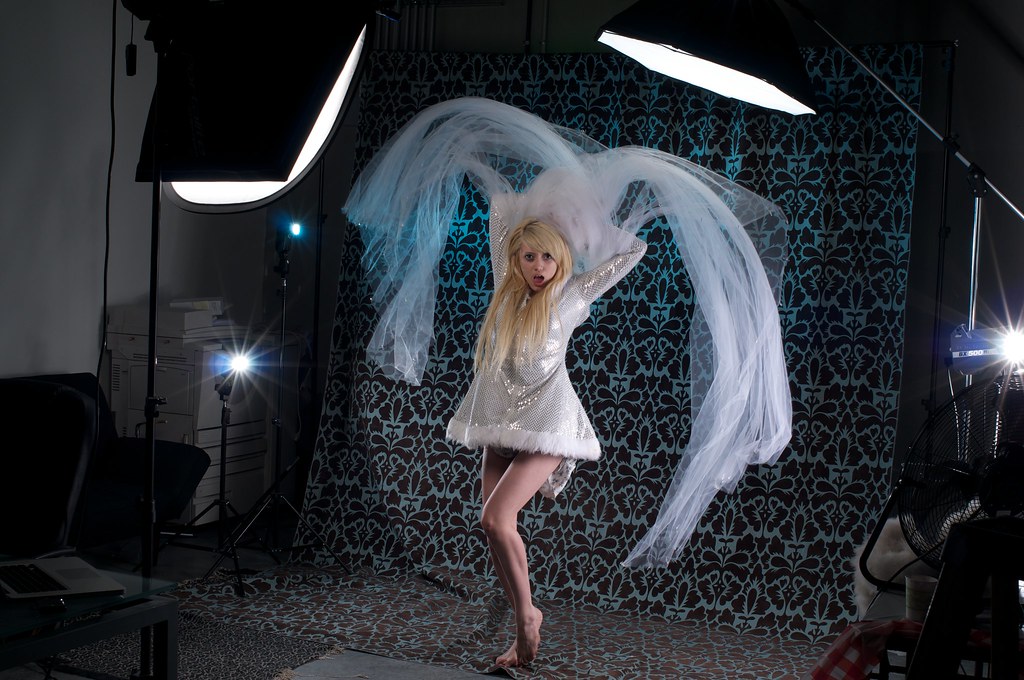
Ask any seasoned portrait photographer what makes a face look good, and the answer almost always comes back to light. Not the lens, not the megapixels, not even the pose — light. The same person can look gaunt and harsh under one setup and warm and dimensional under another, with nothing changed but where the light comes from and how soft it is. Understanding portrait lighting is the closest thing photography has to a superpower, and the foundational ideas cost nothing to learn.
The reassuring truth is that you don’t need a studio full of strobes. The principles below apply whether you’re working with a thousand-dollar lighting kit, a single lamp, a window, or the camera on your phone. What matters is understanding roles and patterns.
The three roles of light
Almost every portrait lighting setup, however elaborate, is built from three jobs. You don’t always need all three — many beautiful portraits use just one — but knowing each role tells you what each light is for.
- Key light: the main light and the most important one. It establishes the overall exposure and the direction of the shadows. Where you place the key determines the entire mood of the portrait.
- Fill light: a softer, dimmer light placed on the opposite side of the key. Its job is to lighten the shadows the key creates, controlling contrast. More fill means a flatter, softer look; less fill means deeper, more dramatic shadows.
- Rim light (or hair light): placed behind the subject, aimed back toward them. It creates a bright edge along the hair and shoulders that separates the person from the background and adds a polished, three-dimensional feel.
A fill light doesn’t have to be a second lamp. A simple white reflector — even a piece of white foam board or a bedsheet — bounces light from the key back into the shadows and does the fill light’s job for free.
Direction sets the mood; softness sets the flattery. Master those two ideas and the gear barely matters.
Hard light versus soft light
Before the patterns, one concept governs how flattering your portrait will be: the size of your light source relative to the subject.
- Soft light comes from a large source — a big softbox, an overcast sky, a window covered with a sheer curtain. It wraps gently around the face, producing smooth, gradual shadows. It’s forgiving of skin texture and almost always the safer choice for portraits.
- Hard light comes from a small or distant source — a bare bulb, a flash with no modifier, direct midday sun. It produces sharp-edged, high-contrast shadows. Used carelessly it’s unflattering; used deliberately it’s bold and dramatic.
The practical rule: to soften any light, make it bigger and closer. Move a lamp nearer to your subject and diffuse it through fabric, and harsh light becomes gentle.
The classic lighting patterns
Lighting patterns describe the shape the shadow makes on the face, controlled almost entirely by where you place the key light. These names have been used for generations because they reliably produce specific looks.
Butterfly lighting
The key light sits high and directly in front of the subject, above the camera. It casts a small, symmetrical shadow beneath the nose, shaped a little like a butterfly. This pattern is flattering, glamorous, and tends to slim the face and emphasize cheekbones — long a favorite for beauty and classic Hollywood portraits.
Loop lighting
Move the key slightly to one side and a little above eye level, and the nose casts a small “loop” of shadow on the cheek, not quite touching the shadow on the side of the face. Loop lighting is the everyday workhorse — natural, flattering on most faces, and easy to achieve. If you’re unsure where to start, start here.
Rembrandt lighting
Move the key further to the side and higher still, and the shadow from the nose connects with the shadow on the cheek, leaving a small, illuminated triangle of light under the eye on the shadow side. Named after the painter, this pattern is moody, dramatic, and dimensional — excellent for characterful, serious portraits.
Split lighting
Place the key directly to one side, at roughly eye level, so one half of the face is lit and the other falls into shadow. Split lighting is intense and edgy, often used to suggest mystery or drama. It’s less universally flattering, so use it with intent.
Broad and short lighting
These describe which side of the face — relative to the camera — receives the key light when the head is turned slightly.
- Broad lighting illuminates the side of the face turned toward the camera. It makes the face look wider and fuller.
- Short lighting illuminates the side turned away from the camera, leaving the near side in shadow. It slims and sculpts the face and is generally the more flattering of the two.
Simple one-light setups that work
You can produce professional-looking portraits with a single light source and a reflector. Start here:
- Place your single light (a strobe with a softbox, a continuous LED panel, or a window) to one side of your subject, slightly above eye level.
- Angle the subject so their nose points roughly toward the light, and watch the shadow on the cheek. Nudge the light until you see a loop or a Rembrandt triangle.
- Add a reflector on the opposite side, angled to bounce light back into the shadows. Move it closer for more fill and softer contrast, farther for more drama.
- Mind the background. Move your subject a few feet away from the wall behind them so the background falls darker and they stand out.
This four-step setup is endlessly adaptable and teaches you more about light than any amount of gear.
Working with window and natural light
A north-facing window (or any window not in direct sun) is one of the best portrait lights available, and it’s free. The window acts as a large, soft key light.
- Seat your subject beside the window, not facing it, to create directional loop or Rembrandt lighting across the face.
- Use a white reflector on the shadow side to fill, or a black surface to deepen the shadows for a moodier feel.
- Avoid direct, harsh sunlight streaming through the glass — diffuse it with a sheer curtain to soften it instantly.
Outdoors, open shade — under a tree, a porch, or on the shaded side of a building — gives soft, even light without the harsh shadows of direct sun. Overcast days act like one enormous softbox and are ideal for portraits.
Flattering portraits with a phone
None of this requires a “real” camera. A smartphone plus good light beats an expensive camera in bad light every time. To get flattering results:
- Find soft, directional light — that window again, or open shade outdoors. Turn your subject so the light rakes gently across their face rather than hitting it flat-on.
- Use a cheap reflector — a sheet of white card or even a white t-shirt held off to the side fills shadows beautifully.
- Turn off the on-phone flash. It sits right next to the lens, producing harsh, flat, unflattering light and red-eye. Natural or continuous light almost always looks better.
- Use portrait mode thoughtfully. The simulated background blur can be lovely, but check the edges around hair and glasses, where the software sometimes struggles.
Portrait lighting looks like a deep, technical subject, and at the professional end it is. But the foundation is small: control the direction of your key, control how soft it is, and lift the shadows to taste. Practice those three moves with whatever light you have on hand, and flattering, dimensional portraits stop being luck and start being a decision.