A Beginner's Guide to Shooting in Manual Mode
Demystify your camera's manual mode with a repeatable workflow, light meter basics, and practice exercises to build real confidence.
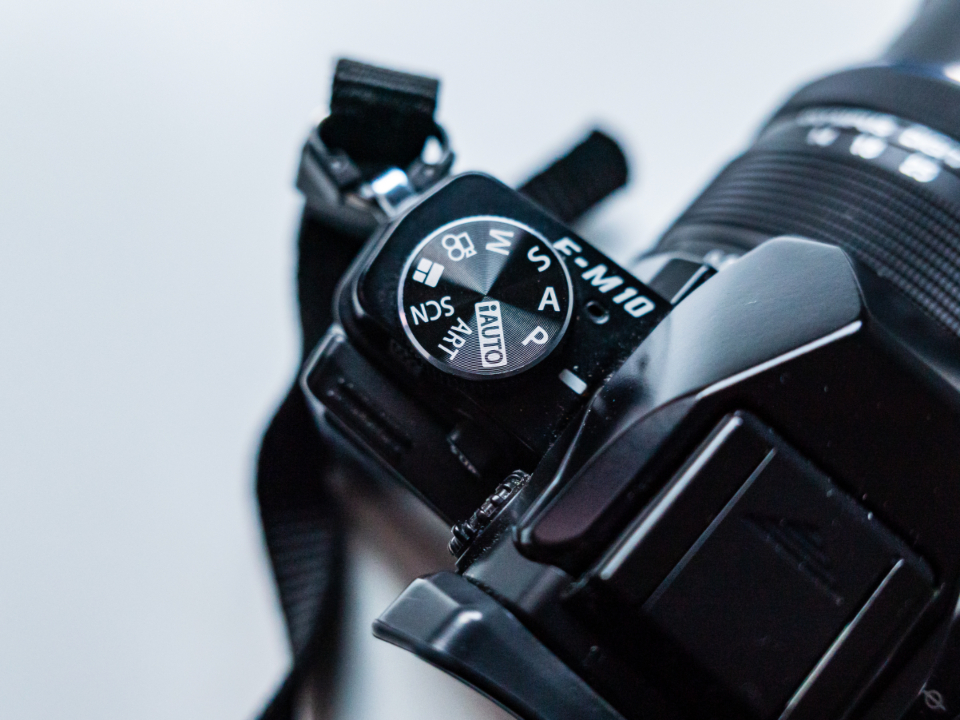
The little M on your camera’s dial intimidates a lot of photographers, and that’s a shame, because it’s where the camera finally stops making decisions for you and hands you the wheel. Manual mode isn’t harder than automatic — it’s just more honest. It asks you to set three things yourself instead of trusting the camera to guess. Once you have a repeatable routine, that guesswork disappears, and you start getting the exact image you pictured instead of the one your camera thought you wanted.
This guide assumes you already understand the three controls — aperture, shutter speed, and ISO — at a basic level. If those terms are fuzzy, read up on the exposure triangle first, then come back. Here, the goal is purely practical: how to actually work in manual mode without freezing up.
Why and when to use manual mode
Automatic and semi-automatic modes are clever, but they’re built to produce an average result. They don’t know your intent. Manual mode shines whenever the camera’s guess would be wrong or inconsistent:
- Tricky or unusual light — a spotlit performer on a dark stage, a snow scene, a backlit subject. Automatic metering routinely misreads these and either blows out highlights or buries the subject in shadow.
- Consistency across many shots — product photos, real estate interiors, or a series of portraits where every frame needs to match. In manual, your settings stay locked until you change them, so exposure doesn’t drift shot to shot.
- Deliberate creative looks — a moody, intentionally dark image or a bright, airy high-key one. The camera will always try to drag those back toward “normal.” Manual lets you commit.
- Tripod work — long exposures, light trails, astrophotography, where you’re choosing every value with care anyway.
For fast, unpredictable situations — street photography, a child’s birthday party — a semi-automatic mode is often the smarter, faster choice. Manual is a tool, not a badge of honor. Use it where it earns its keep.
Reading the light meter
The single most important skill in manual mode is reading your camera’s built-in light meter. Look through the viewfinder or at the rear screen and you’ll see a small scale, usually running from -2 or -3 on the left to +2 or +3 on the right, with a zero in the middle and a moving indicator.
That indicator is the camera telling you what it thinks of your current exposure:
- At zero: the camera considers the scene correctly exposed (a neutral midtone average).
- To the negative side: the camera thinks your image will be darker than neutral (underexposed).
- To the positive side: the camera thinks it will be brighter than neutral (overexposed).
Your job in manual mode is to adjust aperture, shutter speed, or ISO until that indicator sits where you want it — which is usually, but not always, at zero. For a bright snow scene you might deliberately push it to +1, because snow should look white, not gray. For a dramatic low-key portrait you might let it sit at -1. The meter is advice, not a command.
The meter doesn’t know what you’re photographing. You do. Treat its reading as a starting point, then move it to match your intent.
A repeatable manual workflow
The mistake beginners make is trying to juggle all three settings at once. Don’t. Set them in order, every time, and the process becomes almost automatic.
-
Set ISO first, based on the available light. Bright daylight: ISO 100–200. Overcast or shade: ISO 400. Indoors: ISO 800–1600. Dim or night: 3200 and up. Pick the lowest value that’s realistic for the conditions, then mostly leave it alone.
-
Set aperture based on the look you want. Want a blurred background for a portrait? Choose a wide aperture like f/2.8. Need everything sharp for a landscape? Choose f/8 or f/11. This is your creative decision, so make it deliberately.
-
Set shutter speed to balance the exposure. With ISO and aperture chosen, adjust shutter speed while watching the meter until the indicator lands where you want it. This is your final brightness control.
-
Check the meter and the result. Take the shot, then glance at the image and — crucially — the histogram, the graph that shows the spread of tones from dark to bright. If highlights are clipped off the right edge or shadows are crushed against the left, adjust and reshoot.
-
Watch for the trap. If your chosen shutter speed becomes too slow to handhold (generally below about 1/60s), you have three options: open the aperture wider, raise the ISO, or put the camera on a tripod. Don’t accept a blurry photo to keep ISO low.
After a few dozen shots, this sequence — ISO, aperture, shutter, check — stops feeling like a checklist and becomes a habit you run in seconds.
How manual compares with priority modes
Manual isn’t the only way to take control. Your camera offers two semi-automatic modes that hand you one decision and handle the rest:
- Aperture Priority (marked A or Av): you set the aperture and ISO; the camera picks the shutter speed. Ideal when depth of field is your priority — portraits, landscapes, most everyday shooting.
- Shutter Priority (marked S or Tv): you set the shutter speed and ISO; the camera picks the aperture. Ideal when motion is your priority — sports, wildlife, anything where freezing or blurring movement matters most.
These modes are genuinely useful and often the right tool. But they share manual’s weakness in reverse: because the camera still controls one setting, it can be fooled by tricky light. Manual is the only mode where nothing changes unless you change it — which is exactly why it’s worth learning, even if you don’t use it every day.
Practice exercises to build confidence
Reading about manual mode won’t make it stick. These short drills will:
- The single-scene triangle. Photograph one static subject in even light. Take five frames, changing only shutter speed each time so the meter reads -2, -1, 0, +1, +2. Compare them side by side. You’ll see what a stop of exposure looks like.
- Depth-of-field study. Same subject, but now hold shutter and ISO steady and shoot at f/2.8, f/5.6, and f/11, balancing the exposure each time. Watch how the background sharpens.
- The light-walk. Spend twenty minutes walking and shooting in manual, resetting your settings for every new scene. The repetition of “ISO, aperture, shutter, check” is the whole point.
- Mixed-light challenge. Photograph a subject against a bright window. Let the camera’s meter sit at zero, then deliberately overexpose by a stop to keep the subject’s face bright. This teaches you to override the meter with intent.
If you shoot on a smartphone, you can practice all of this in the Pro or Manual mode many camera apps include. You’ll typically get direct control over shutter speed and ISO with the same kind of meter, which makes a phone a surprisingly good (and always-in-your-pocket) training tool.
Manual mode rewards the time you put into it. The first session feels slow and fiddly; by the third or fourth, the dials become an extension of your eye. That fluency — knowing instantly which setting to reach for — is the quiet confidence that separates someone who owns a camera from someone who can use one.