How to Photograph the Night Sky: Astrophotography Without Expensive Gear
A practical starter guide to night-sky photography — minimal gear, the 500 rule, focusing on stars, dark-sky planning, and phone night mode.
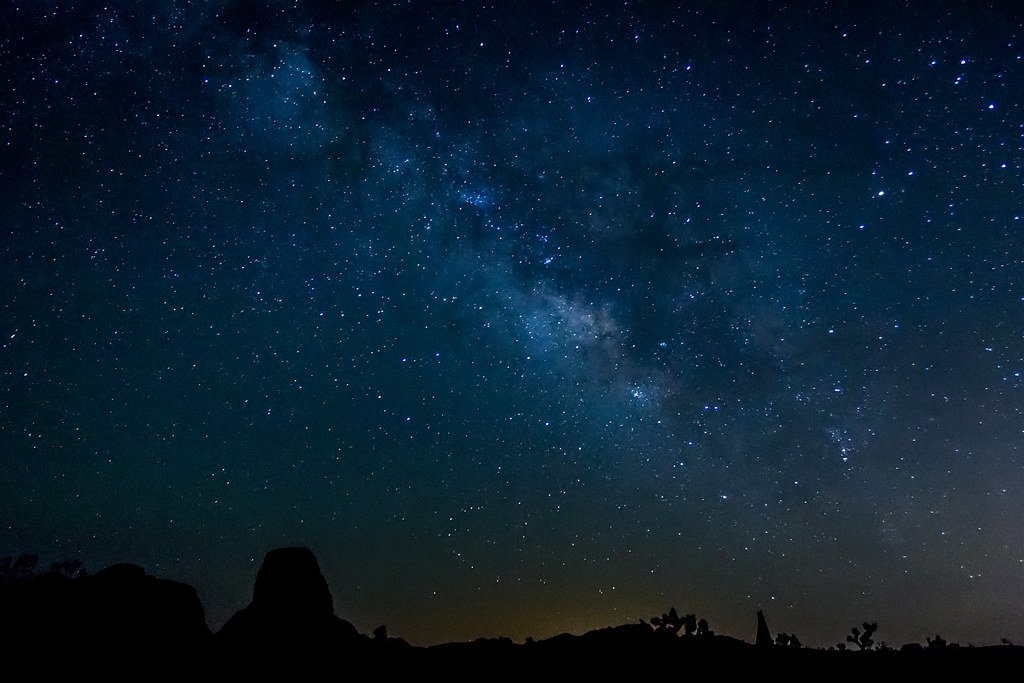
There’s a particular kind of magic in the first time you point a camera at a dark sky, open the shutter for a few seconds, and watch hundreds of stars appear on the screen that your eyes couldn’t quite see. Astrophotography has a reputation for being expensive and forbiddingly technical, and at the highest level it can be. But capturing a sky full of stars, or even the faint band of the Milky Way arching over a landscape, is far more accessible than most people think. You can begin tonight with gear you may already own.
This guide is about getting started, not chasing observatory-grade results. The aim is your first genuinely impressive night-sky photo, and a clear understanding of why each setting matters.
The minimal gear you actually need
Forget the telescopes and star trackers for now. A solid first kit is short:
- A camera with manual control. Any camera that lets you set shutter speed, aperture, and ISO yourself will do — an entry-level DSLR or mirrorless body is more than enough. Many modern smartphones also work, which we’ll cover below.
- A sturdy tripod. This is non-negotiable. Night-sky shots use long exposures of several seconds or more, and any camera movement turns stars into smears. A cheap but stable tripod beats an expensive shaky one.
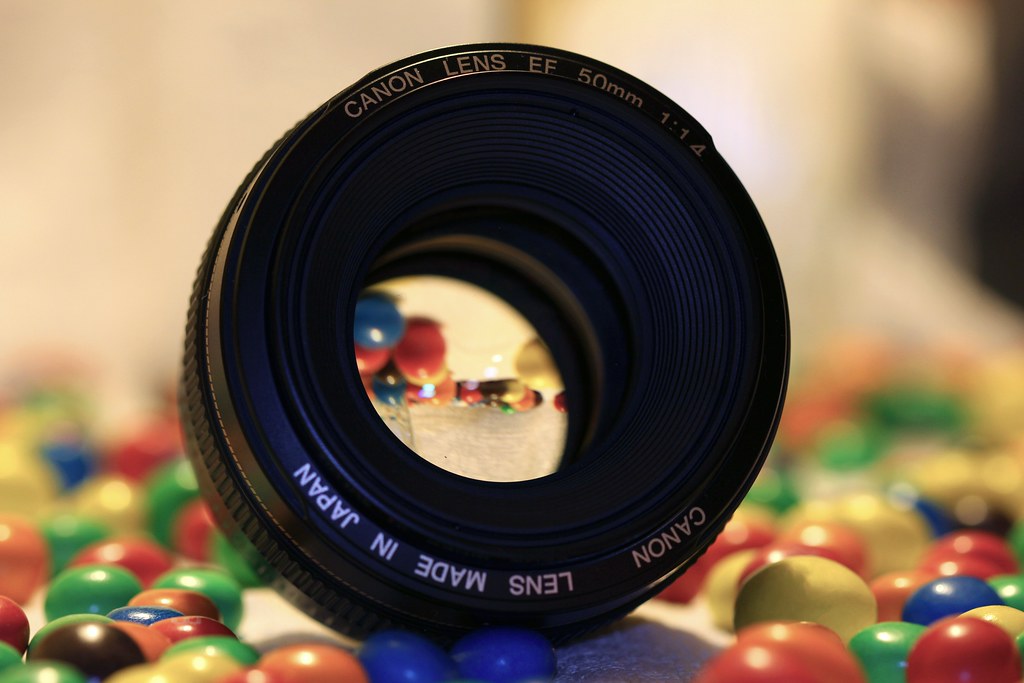
- A wide, fast lens if you have one. A wide-angle lens (think 14mm to 24mm on a full-frame camera, or the equivalent) captures more sky and helps with sharpness. “Fast” means it opens to a wide aperture like f/2.8 — the wider, the more starlight you gather. The kit lens that came with your camera will still work; you’ll just push the ISO a bit higher.
- A way to fire the shutter without touching the camera — a remote release, or simply the camera’s built-in two-second self-timer to avoid wobble when you press the button.
That’s it. No tracking mount required for your first attempts.
Why dark skies matter most
Here’s the single biggest factor in your results, and it has nothing to do with your camera: light pollution. The glow of a town or city floods the sky and drowns out all but the brightest stars. The same gear that produces a disappointing gray sky in a suburb can produce a jaw-dropping starfield an hour’s drive into the countryside.
Before you go, plan around the sky itself:
- Find a genuinely dark location. Light-pollution maps (available as free websites and apps) show you where the darkest accessible skies are near you.
- Avoid the full moon. A bright moon washes out the stars just like a streetlight. For the Milky Way and the most stars, shoot during the new moon or when the moon has set.
- Use a planning app. Free and inexpensive apps show you where and when the Milky Way’s bright core will rise, where the moon is, and what’s overhead at any time. The Milky Way’s core is most visible in the spring through autumn months in the Northern Hemisphere.
- Check the weather. Clear, dry, low-humidity nights give the sharpest, most transparent skies.
The best upgrade in astrophotography isn’t a new lens. It’s driving away from the city lights.
The 500 rule for sharp stars
Stars look fixed, but the Earth is turning, and over a long enough exposure they record as little streaks rather than crisp points. To keep them sharp, you need to know your maximum exposure time — and there’s a simple guideline called the 500 rule.
Divide 500 by the focal length of your lens, and the result is roughly the longest exposure (in seconds) you can use before stars start to streak:
500 ÷ focal length = maximum seconds
So with a 20mm lens, 500 ÷ 20 = 25 seconds. With a 50mm lens, 500 ÷ 50 = 10 seconds. This is why wide lenses are easier for star fields — they let you expose for longer and gather more light before streaking sets in.
One important caveat: if your camera has a smaller (cropped) sensor, multiply your lens’s focal length by the crop factor first (commonly around 1.5) before dividing into 500. On a crop-sensor camera, a 20mm lens behaves like roughly 30mm, so 500 ÷ 30 ≈ 16 seconds.
If you want the streaks, that’s a different style entirely — star trails — created by exposing for many minutes (or stacking many shorter frames) so the stars draw long arcs around the celestial pole. Both looks are valid; the 500 rule simply tells you where pinpoint stars end and trails begin.
Recommended starting settings
Set your camera to manual mode and shoot in RAW format if your camera offers it — RAW files hold far more detail in the shadows, which is exactly where night-sky data lives, giving you much more room to recover detail when editing. A reliable starting point for a static star field:
- Aperture: as wide as your lens allows — f/2.8 if you have it, or the widest your lens offers (often f/3.5 or f/4 on a kit lens).
- Shutter speed: your maximum from the 500 rule — commonly 15 to 25 seconds on a wide lens.
- ISO: start around ISO 3200 and adjust. Night-sky work demands high ISO, and the resulting noise is a fair trade for capturing the stars at all. You can clean much of it up later.
- White balance: set it manually to around 3800–4200K for a natural night sky, rather than letting auto white balance guess. You can also adjust this freely afterward if you shot RAW.
Take a test shot, check the screen, and refine. Too dark? Raise the ISO. Stars streaking? Shorten the exposure.
Focusing on the stars
Autofocus fails in the dark — there’s nothing for it to lock onto — so you’ll focus manually. This step trips up more beginners than any other, so take your time:
- Switch your lens to manual focus.
- Turn on your camera’s live view, point at the brightest star or a distant light, and digitally zoom in on the screen.
- Slowly turn the focus ring until that point of light becomes as small and sharp as possible. Stars should look like crisp pinpricks, not soft blobs.
- Once focus is set, don’t touch the ring, and turn off any autofocus that might reset it. Tape the ring in place if it tends to drift.
Using a phone’s night mode
Smartphone astrophotography has come a long way. Many recent phones include a night mode or dedicated astro mode that automatically takes a long exposure — often combining many frames over 10 to 30 seconds — to brighten the scene and pull out stars.
To get the most from it:
- You still need a tripod or a stable surface. Phone night modes use long exposures, so the phone must stay perfectly still. A small phone tripod is a cheap, worthwhile buy.
- Find that dark sky. Light pollution limits a phone just as much as a camera.
- Use the phone’s Pro or manual mode if it has one, to set a long shutter time and higher ISO yourself.
- Be patient. Let the phone complete its full capture without moving — these modes can take half a minute to finish a single shot.
The results won’t match a full-frame camera under a perfect sky, but a modern phone on a tripod in a dark location can genuinely capture the Milky Way. That would have been unthinkable not long ago.
Basic editing to finish the shot
A straight-out-of-camera night shot almost always looks flat. A few gentle edits bring it to life:
- Lift the contrast and clarity to make the stars pop against the sky.
- Pull down the highlights and raise the shadows to reveal detail across the frame.
- Adjust white balance toward a natural blue-black sky, away from any orange light-pollution cast.
- Apply noise reduction carefully to smooth the grain from your high ISO — but don’t overdo it, or you’ll erase the fainter stars along with the noise.
Astrophotography rewards patience more than it rewards spending. Get the camera steady, find a dark sky, focus carefully on a star, expose long enough but not too long, and you’ll come home with an image that genuinely surprises you. Start with a simple star field on a clear, moonless night — and once that works, the Milky Way and star trails are only a few settings away.